如何快速上传开源项目至 Jcenter
前几天上传了个项目至 Jcenter,看了网上很多教程,基本都是以 gradle-bintray-plugin 这个插件做上传,教程看着都好费劲,对于新手来说真的好麻烦。
找到了另外一种方法,采用 bintray-release 插件,感觉要比 gradle-bintray-plugin 简单很多啊。于是在此记录一下,希望能帮助到新手。
1、注册 bintray.com 账户
jcenter 是属于 bintray 的一个仓库,所以需要注册账户。注意默认注册的是组织,个人账户注册地址是 https://bintray.com/signup/oss ,可以用 GitHub、Google 账户注册。
2、创建私有maven仓库
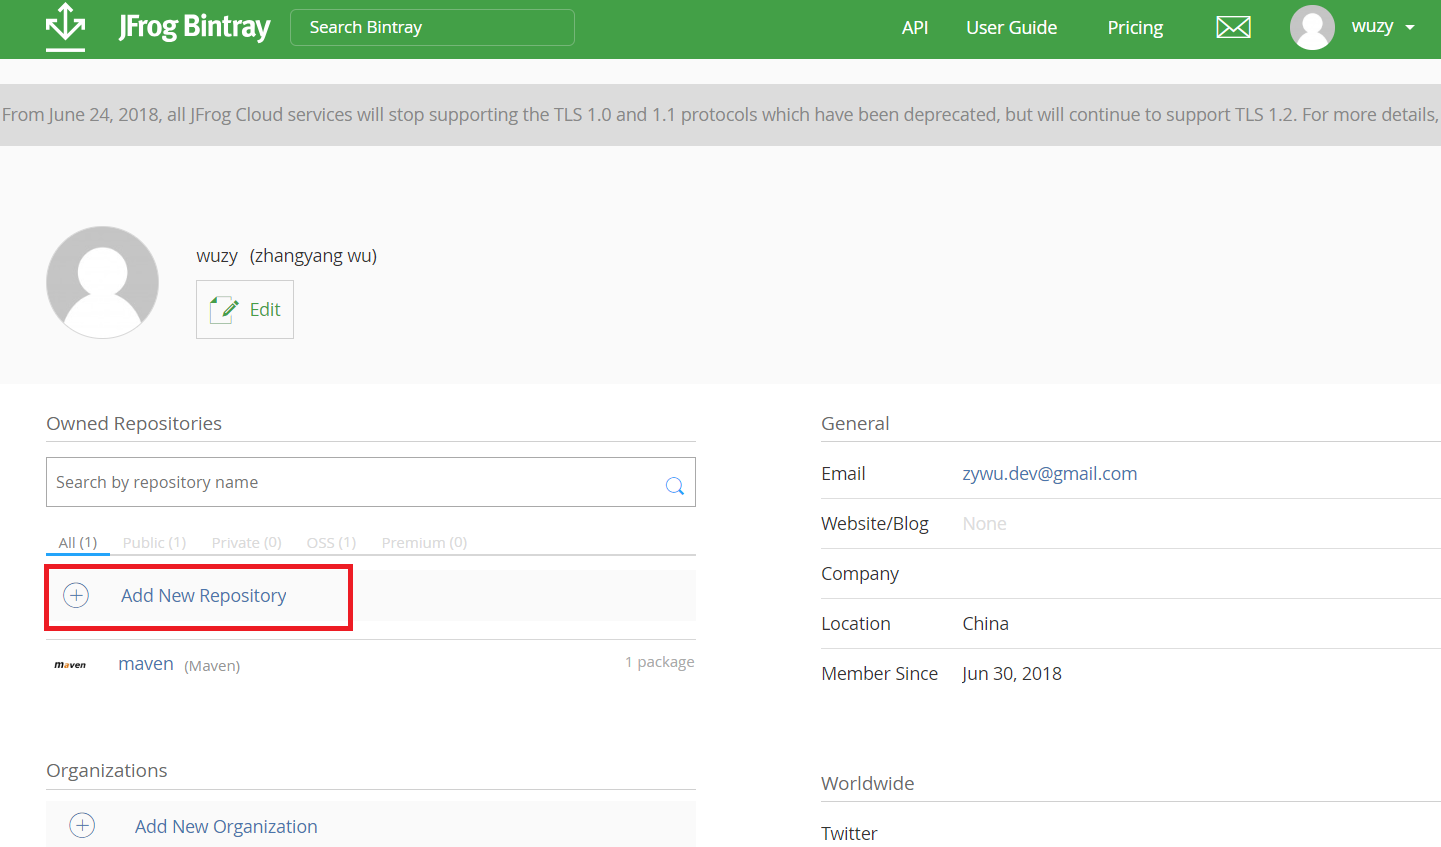
点击下图中的 Add New Repository 。
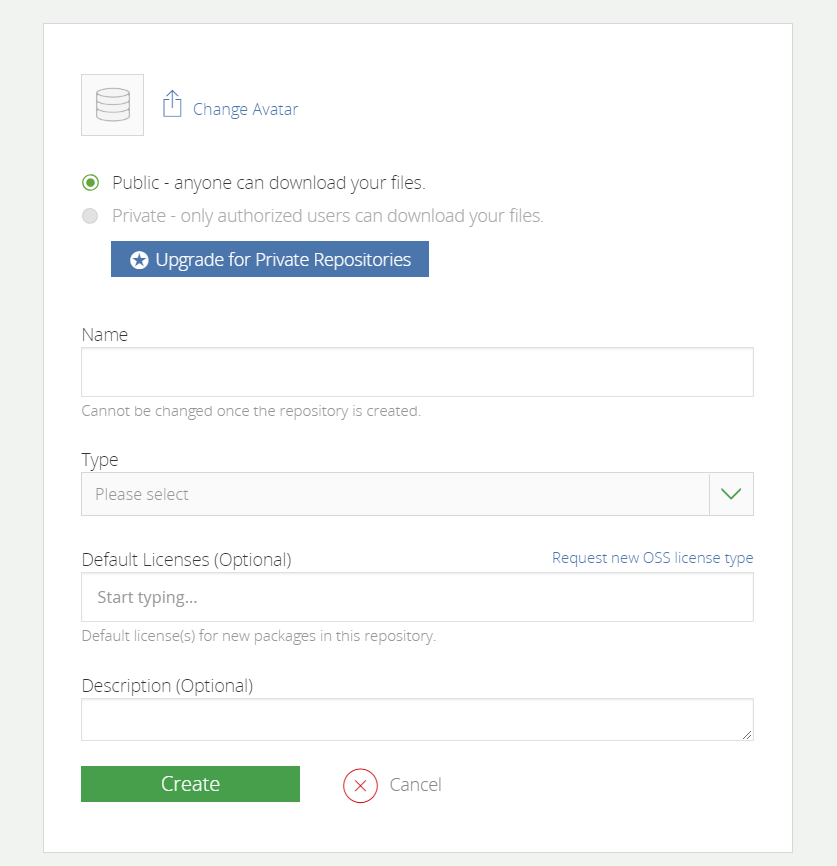
出现下图的界面,注意其中的 Name 和 Type 都要写成 maven。
3、引入 bintray-release
在项目的 build.gradle 添加 bintray-release 的 classpath,注意是项目的 build.gradle,不是module 的。
1 | buildscript { |
在待上传 moudle 的 build.gralde 中添加
1 | apply plugin: 'com.android.library' |
按照上述的编写,最终引入的方式为:compile 'com.wuzy:logger:1.0.0 。
4、上传
上传很简单,在 Android Studio 或 cmd 控制台运行一下命令,看到 BUILD SUCCESS 即上传成功。
1 | gradlew clean build bintrayUpload -PbintrayUser=username -PbintrayKey=xxxxxxxxxxxxx -PdryRun=false |
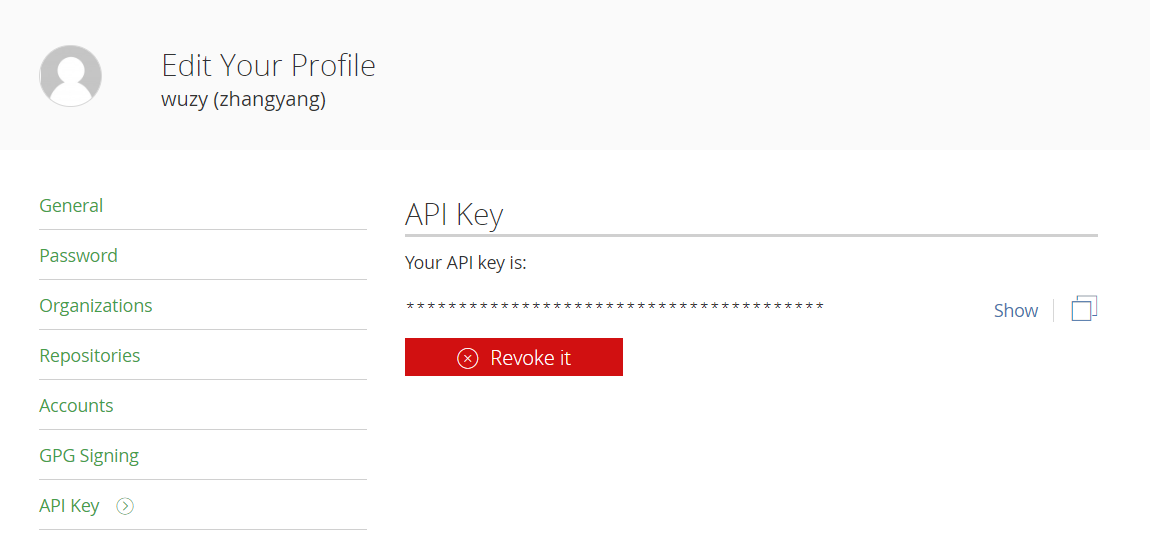
其中 PbintrayUser 为用户名,PbintrayKey 是个人的 API Key,可在 bintray 网站上点击 Edit Profile,即可看到。
上传成功后,访问 https://bintray.com/用户名/maven,即可看到上传的项目。
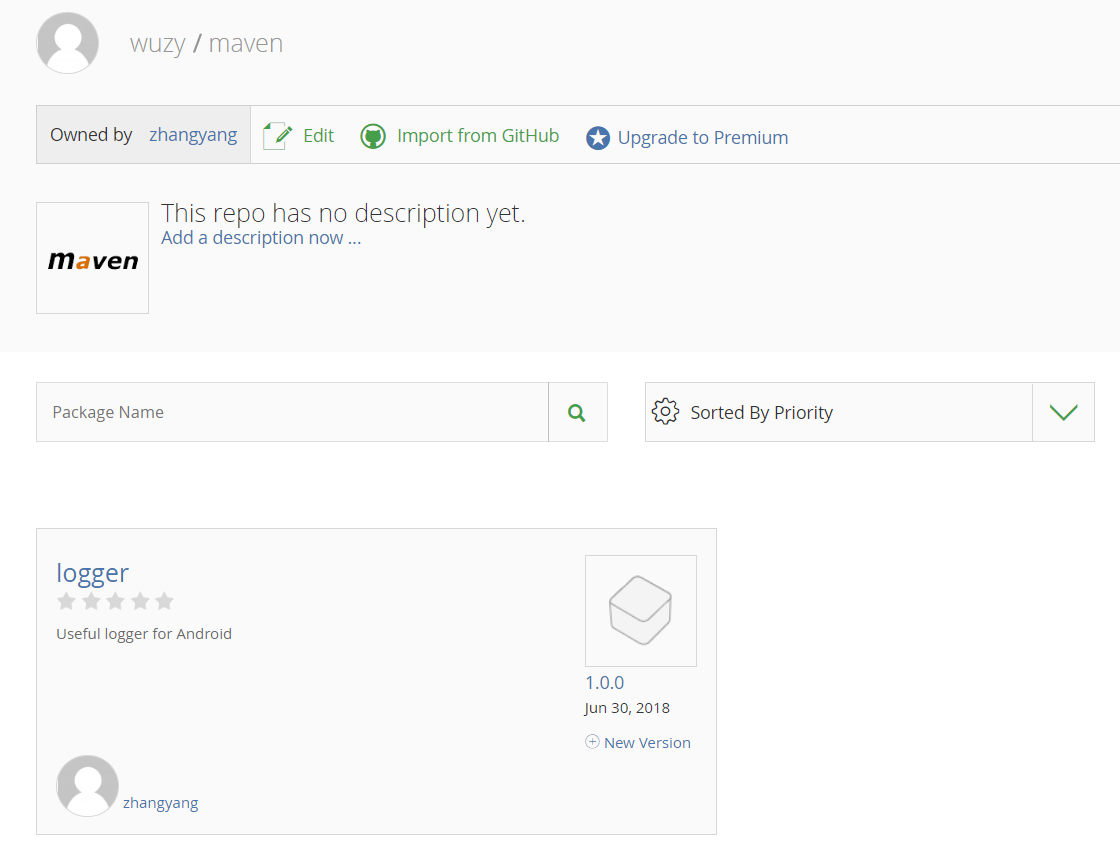
注意此时还不能直接引用,因为项目还未添加到 Jcenter 仓库中。在下图的红色区域,未手动添加到 Jcenter 的会出现 Add to Jcenter 按钮,点击 Add to Jcenter 加入 commit 信息就行了,一般需要等待审核通过,几个小时吧,添加成功后Add to Jcenter那个按钮就消失了,如下图。
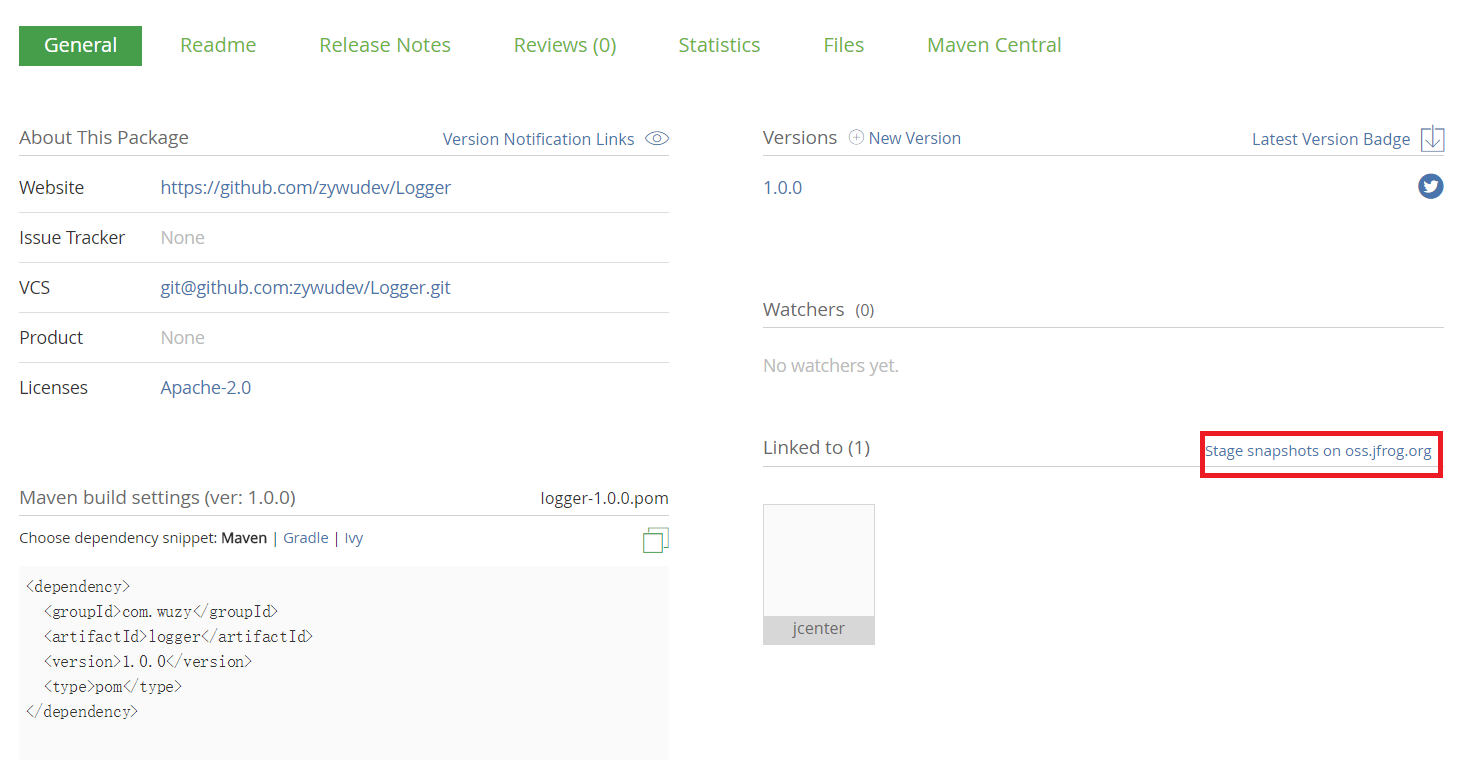
同样,可以在 jcenter 仓库中可以看到自己的项目了。

至此,整个流程就结束了,是不是很简单。